|
SPREADSHEETS TUTORIAL
WORKING WITH WORKSHEETS
Saving and retrieving worksheet
files
To save a file for the first time,
Choose: File ---> Save
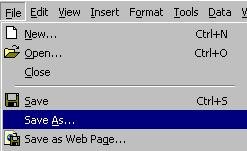
Type a file name
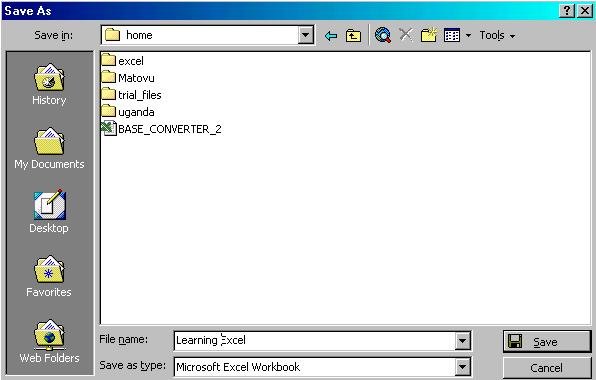
Click then the Save button.
Closing files
Closing a worksheet without exiting Excel.
Choose File ----> Close

If you have not saved, it will prompt you to save the changes.

Select Yes to close the file and Save the changes,
or No to close the file and not save changes
or Cancel which will return to the document.
Retrieving files from disk
A worksheet file can be retrieved from disk by choosing:
File ---> Open.
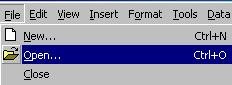
Or:
Select the Open  File tool.
The following screen will be displayed:
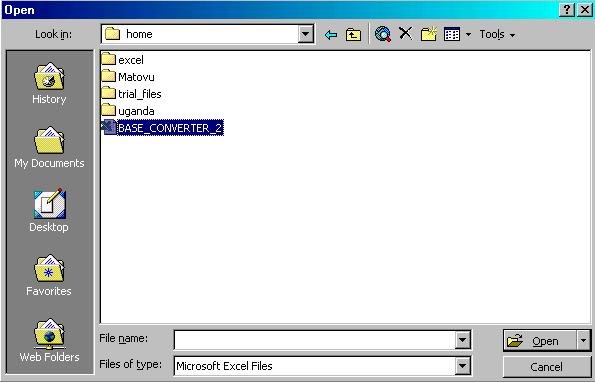
Click on the file name once, then press [Enter
key] or press OK button with the mouse.
OR double click on the file name to retrieve it.
Using autofill:
The autofill feature is capable of providing two alternatives:
* Copy.
* Series.
When a cell or multiple cells are selected, there is a small
black filled square located on the bottom right corner of
the selection. By placing the mouse on this square, the mouse
pointer changes to a solid black cross symbol. By clicking
and dragging this symbol, it will activate the autofill option.
The various selections are explained below:
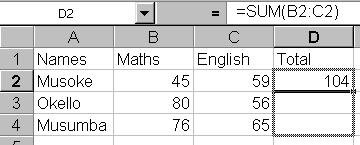
Using autofill to copy:
Autofill may be used to copy cells if multiple cells are selected
and the mouse is dragged down or to the right.
To do this procedure, follow these steps:
1. Click and drag over the multiple cells to be copied.
2. Position the mouse at the bottom right hand corner of
the selection, in the small black box (the fill handle).
3. Drag the mouse to the Right over the number of cells
that are to contain the same data.
4. Release the mouse button.
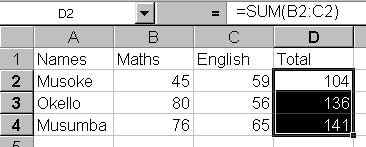
NOTE: Excel has automatically copied the contents
of the original cells to the selection.
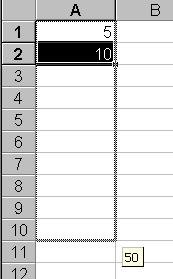
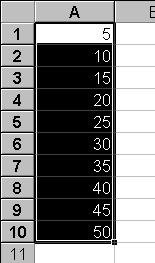
Using autofill to create series:
The autofill feature allows the user to create a series of
numbers or dates. For purposes of explanation, we will assume
that you require the series 5, 10, 15, 25, 30, 35, 40, 45,
50, in cells A1 to A10.
|